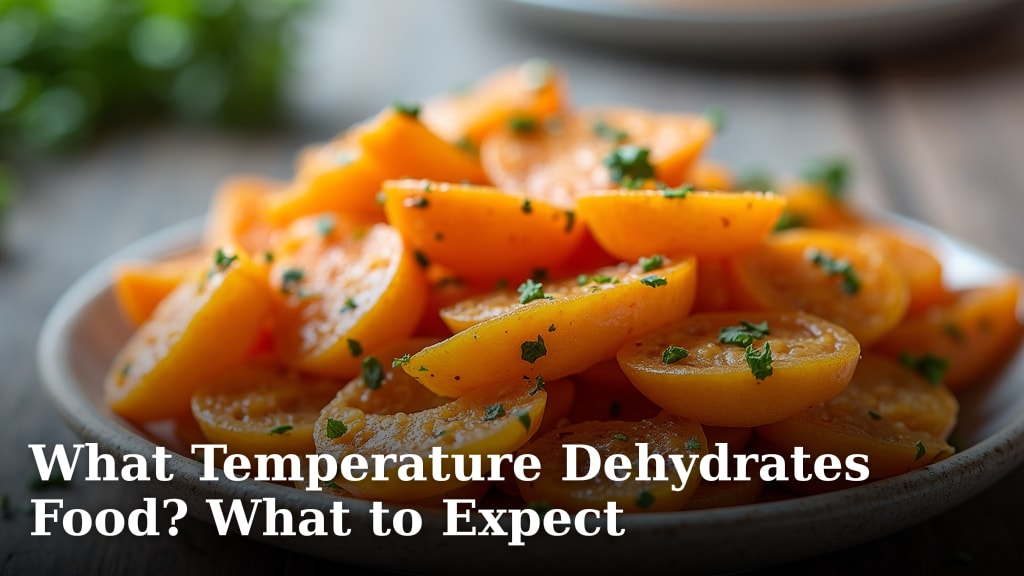
What Temperature Dehydrates Food? What to Expect
Food dehydrates most effectively between 125°F and 160°F. This temperature range gently removes water while preventing the growth of harmful bacteria. For food safety, you must always reach an internal temperature of 160°F to 165°F for meats.
The right temperature is the key to a successful batch. If it’s too low, food can spoil before it dries. If it’s too high, it might cook or toughen on the outside while staying moist inside.
- The ideal range for most fruits, vegetables, and herbs is 125°F to 135°F.
- For jerky and other meats, start at 160°F to kill bacteria, then finish at a lower temp.
- Consistency is more important than a perfect number on the dial.
- Expect the process to take 4 to 12 hours, depending on what you’re drying.
- Your food should be leathery for fruit and brittle for vegetables when done.
Below, we break down exactly how to set your dehydrator for different foods and what signs to look for. You’ll know just what to expect from start to finish.
Setting Your Dehydrator’s Heat for Perfect Results
You’ve loaded your trays with beautiful slices of fruit or seasoned strips of beef. Now you’re staring at the temperature dial, wondering if 125°F is really enough. The heat you set isn’t just a random number; it’s the most important tool you have for food safety and texture. Get it right, and you’ll have delicious, shelf-stable snacks. Get it wrong, and you might end up with a science experiment. Let’s find that sweet spot.
Why Temperature is Your First Priority
Before we dive into the numbers, remember this: food dehydrating is a balancing act. Your goal is to remove moisture quickly enough to prevent spoilage, but gently enough to preserve quality. The USDA notes that bacteria, yeast, and mold thrive in moist environments. The right heat creates an environment where they can’t survive.
Think of it like a warm, constant breeze that coaxes water out of food. If that breeze is too weak (too low a temp), mold might win the race. If it’s a scorching desert wind (too high a temp), the outside will seal up before the inside dries. This can lead to a condition experts call “case hardening” (Penn State Extension).
The Golden Rule Range for Most Foods
For the vast majority of what you’ll dry—fruits, vegetables, nuts, and herbs—staying within the 125°F to 135°F range is ideal. This is the comfortable zone. It’s warm enough to evaporate water efficiently but low enough to prevent cooking or scorching delicate flavors.
- Fruits: Think apples, bananas, berries, and mangoes. They retain their best color and taste here.
- Vegetables: Carrots, onions, mushrooms, and peppers dry beautifully in this range.
- Herbs: Delicate leaves need gentle heat to preserve their aromatic oils.
Patience is part of the recipe at these temperatures. A batch of apple slices might take 8-12 hours. That slow, steady drying is what creates that perfect leathery chew.
The Critical Exception: Drying Meats and Jerky
When it comes to meat, safety isn’t a suggestion—it’s a requirement. The CDC and USDA are very clear: to destroy harmful pathogens like Salmonella or E. coli, the internal temperature of meat must reach 160°F to 165°F. Your dehydrator’s ambient air temperature must be high enough to achieve this.
Most jerky recipes and safety guidelines recommend starting at a high 160°F for the first hour or two. This initial blast is the critical kill step. After that, you can often reduce the heat to 145°F or 155°F to finish drying without overcooking the exterior. Never dehydrate jerky at the same temperature you use for fruit.
A Quick-Reference Temperature Guide
Feeling a bit lost? We get it. Here’s a simple table to keep on your fridge. Remember, these are starting points—your specific dehydrator model and food thickness will affect drying time.
| Food Type | Recommended Temp (°F) | What to Expect |
|---|---|---|
| Fruits (Leathery) | 125°F – 135°F | Pliable, slightly sticky, no moisture when bent. |
| Vegetables (Brittle) | 125°F – 135°F | Crisp and snaps easily. Crumbles when ground. |
| Herbs | 95°F – 115°F | Leaves are brittle and crumble between fingers. |
| Jerky & Meats | 160°F (start), then 145°F-155°F | Leathery, bends without breaking, no internal moisture. |
| Nuts & Seeds | 130°F – 140°F | Drier, deeper flavor. Often used to activate enzymes. |
| Dairy (Yogurt, Cheese) | 115°F – 130°F | Firm and uniform for yogurt; dry and crumbly for cheese. |
Understanding the Dehydrating Process Hour by Hour
You set the temp, you turned it on… now what? Knowing what to expect during the hours of waiting will keep you from opening the lid every five minutes. Here’s a general timeline of what happens inside that magic box.
The First Few Hours: The Warm-Up
In the beginning, your food is just getting acclimated. The internal temperature is rising, and surface moisture starts to evaporate. You might not see dramatic changes yet. This is normal! Be patient and keep the lid on. Let the environment inside stabilize.
The Middle Stretch: The Heavy Lifting
This is where the real work happens. You’ll notice condensation on the lid or feel moist air when you quickly check. The food will shrink significantly. For fruits, the color might darken slightly as sugars concentrate. For veggies, they’ll go from soft and pliable to somewhat tough and leathery. This stage can take the longest, sometimes 4-8 hours depending on water content.
The Final Check: Doneness and the Cool-Down
How do you know it’s finally done? The “touch test” is more reliable than the clock. For fruit, bend a piece—it should crack but not break. It should feel like a leathery raisin. For vegetables, they should be hard and brittle. A piece cooled to room temperature is the best judge.
Once done, turn off the dehydrator. Let the food cool completely on the trays for about an hour before storing. This final cool-down prevents condensation from forming in your jar, which could reintroduce moisture.
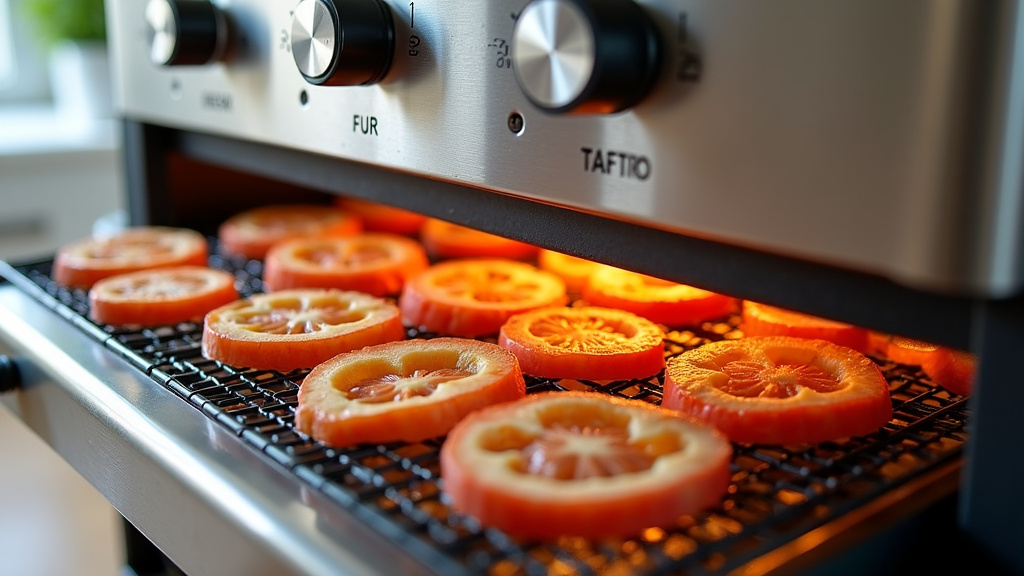
5 Signs Your Temperature Setting Might Be Wrong
Sometimes, despite your best efforts, things don’t turn out quite right. The problem often traces back to temperature. Watch for these clues:
- The “Steaming” Lid: Excessive condensation pouring down the lid often means your temp is too low, not evaporating moisture fast enough.
- Burnt Edges, Gummy Center: This classic sign of case hardening means your heat is too high. The outside sealed before the inside could dry.
- Sticky or Wet Spots: After days of drying, some pieces remain tacky. This points to low temperature or overcrowding on trays.
- Unpleasant Smells: If you notice a fermented or sour odor, stop everything. Your temperature was likely too low, allowing bacteria to grow.
- Loss of Flavor or Color: Drab, brown fruit or flavorless herbs suggest the heat was too high for too long, “cooking” instead of drying.
Troubleshooting Your Dehydrator
Found a problem? First, ensure your dehydrator isn’t in a cold garage or near an open window. Ambient room temperature affects the internal heat. An oven thermometer placed inside your dehydrator can verify if your dial matches the actual temperature. A small adjustment of 5-10 degrees can make a huge difference in your next batch.
Your Drying Day Checklist
Ready to start? Use this simple checklist to ensure you’re set for success. A little preparation goes a long way.
- Research first: Look up the specific temperature and time for what you’re drying. Don’t guess.
- Preheat: Turn on your dehydrator with empty trays for 30 minutes to stabilize the temperature before loading.
- Slice evenly: Uniform thickness is key for even drying. Use a mandoline or sharp knife for consistency.
- Don’t overload: Air needs to circulate between pieces. Leave a small gap between all items.
- Rotate trays: Every few hours, swap the top and bottom trays to ensure even heat distribution.
- The bend test: Always cool a piece to room temperature before judging doneness.
We found that following these basic steps reduces most common problems. The right temperature is your foundation, but good technique builds upon it.
Conclusion
Getting the temperature right is the foundation of successful food dehydration. Remember the key zones: the gentle 125°F to 135°F for most produce and herbs, and the critical 160°F starting point for all meats and jerky. Watching for the right texture—leathery fruit and brittle vegetables—tells you the job is done. Your patience during the process is just as important as the heat setting.
Now, gather your favorite ingredients and pick one food to try. Start with a simple fruit like apple slices. Follow the temperature guide, trust the touch test, and you’ll build confidence with every batch. Your pantry of healthy, homemade snacks is just a few settings away.
Frequently Asked Questions
Can I use my regular oven to dehydrate food?
You can, but it’s tricky. Most ovens don’t go as low as 125°F and often have a minimum of 170°F. This can cook the food instead of drying it. If you try it, prop the door open slightly with a wooden spoon to allow moisture to escape and use an oven thermometer to check the actual temperature.
Why does my jerky sometimes come out too hard or crunchy?
This usually means you dried it for too long or at a temperature that was too high after the initial safety step. Once the meat has reached the safe internal temperature and is dried to a pliable, leathery stage, it’s done. Let it cool completely before you judge the final texture, as it will firm up slightly as it cools.
Is it safe to dehydrate food at temperatures below 135°F?
For certain items like herbs and some nuts, yes. Drying at 95°F to 115°F is safe for these low-moisture foods. However, for high-moisture foods like most fruits, vegetables, and all meats, staying at or above 125°F is crucial to prevent the growth of mold and bacteria during the long drying process.
How do I fix food that got over-dried and is too brittle?
If food is just a little too dry, you can sometimes rehydrate it. Place it in a bowl of hot water, broth, or juice for 15-30 minutes. This works well for vegetables used in soups. For fruit, it can soften it enough for use in baking or oatmeal. Prevention is best—use the touch test and check on your food earlier next time.
Do I need to preheat my dehydrator before loading the food?
Yes, it’s a highly recommended step. Running your dehydrator empty for about 30 minutes helps stabilize the temperature inside. This ensures your food starts drying in a consistent environment from the very beginning, leading to more even results and a predictable drying time.