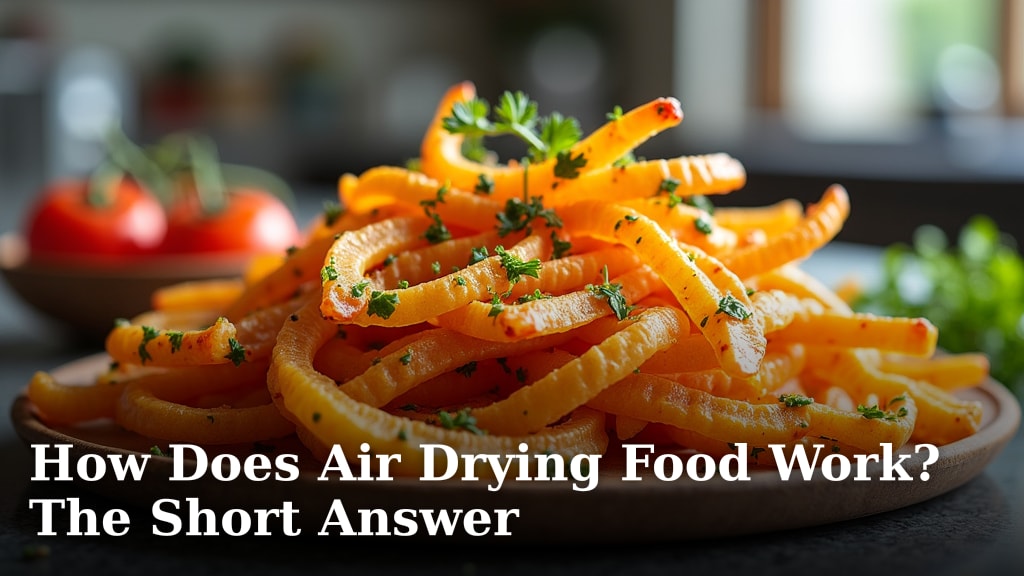
How Does Air Drying Food Work? The Short Answer
Understanding the Core Idea of Air Drying Food
At its heart, air drying is one of the simplest food preservation methods you can use. It works by letting moving air carry away moisture from your food. Think of it like a gentle, continuous breeze drying your laundry on a clothesline. The goal is to remove enough water so that bacteria, yeast, and molds cannot grow. This creates a stable, shelf-stable snack or ingredient. You achieve this using just air, a little warmth, and often, a bit of patience.
The Science Behind Moisture Removal
So, how does that simple breeze actually preserve your strawberries or jerky? The answer lies in water activity. Every food contains water, and microbes need that water to live. By reducing the available water, you make the environment hostile to spoilage. Air drying doesn’t “kill” microbes directly; it starves them.
As air flows over the food, it absorbs the surface moisture. This moisture then evaporates into the air. Fresh, dry air can absorb more moisture than humid air, which is why a dry, breezy day is perfect for drying. Over time, this process pulls moisture from inside the food to the surface, where it can evaporate. This continues until the food reaches a safe moisture level, typically below 10% for most items (USDA).
How Air Temperature and Humidity Play a Role
Two main factors control the speed and safety of air drying: air temperature and relative humidity. Warmer air can hold more moisture, speeding up evaporation. However, too much heat can cook the food’s exterior, creating a hard crust that traps moisture inside—a problem called “case hardening.”
Humidity is equally important. On a muggy, humid day, the air is already full of water vapor. It can’t absorb much more from your food, so drying stalls. For safe, effective drying, you generally want warm temperatures (between 85°F and 115°F) and low humidity (below 60%). This is why specialized food dehydrators are so popular; they create the perfect microclimate for drying, regardless of your weather (Cleveland Clinic).
Common Methods for Air Drying Your Food
You don’t always need fancy equipment to air dry food. People have been doing this for centuries using a few reliable techniques. The method you choose often depends on the type of food you’re preserving.
Using a Dedicated Food Dehydrator
This is the most consistent and beginner-friendly option. A food dehydrator is a small appliance with a fan, a heating element, and trays. It circulates warm, dry air evenly around your food. This controlled environment minimizes the risk of spoilage and speeds up the process. It’s ideal for fruits, vegetables, herbs, and making jerky.
Key Features to Look For
When choosing a dehydrator, look for one with adjustable temperature settings and a fan for good air circulation. Models with horizontal airflow, where the fan is at the back or side, tend to dry more evenly than those with vertical airflow from the bottom up.
Sun Drying: The Traditional Approach
This is the original method. You place food on screens or racks in direct sunlight, usually with some protection from insects. It works best in hot, dry climates with consistent breezes. It’s free, but it’s also weather-dependent and can take several days. Sun drying is best suited for items like herbs, tomatoes, or thinly sliced fruit.
Oven Drying on a Low Setting
You can use your home oven as a makeshift dehydrator. Set it to its lowest possible temperature (usually 140°F to 170°F). Prop the oven door open slightly to let moist air escape and allow air flow. Place food on oven racks lined with parchment paper or clean screens. It’s less energy-efficient and may require more monitoring than a dedicated dehydrator.
A Simple Table: Comparing Air Drying Methods
To help you decide, here’s a quick look at the pros and cons of each method.
| Method | Best For | Advantage | Drawback |
|---|---|---|---|
| Food Dehydrator | Consistent results, jerky, fruit leather | Controlled, even drying; easy for beginners | Requires purchasing an appliance |
| Sun Drying | Herbs, tomatoes, fruit slices in dry climates | Free; uses natural energy | Weather-dependent; slow; risk of contamination |
| Oven Drying | Small batches; trying it out before buying a dehydrator | Uses equipment you already own | Uses a lot of energy; heats up your kitchen |
Preparing Your Food for the Drying Process
Proper preparation is key to safe, tasty results. You can’t just toss whole apples on a tray and expect the best. Prepping your food increases the surface area and helps it dry evenly and quickly.
- Wash thoroughly to remove dirt and bacteria.
- Peel if desired (like for apples or pears), though peels add fiber.
- Uniformly slice food into thin, consistent pieces. A mandoline is great for this. Thinner slices dry faster.
- Pre-treat certain foods. Many fruits benefit from a quick dip in a solution that prevents browning. The National Center for Home Food Preservation recommends a mixture of lemon juice and water or a commercial fruit preservative.
- Blanch vegetables first. This step helps retain color, texture, and nutrients. It also destroys enzymes that could cause spoilage (USDA).
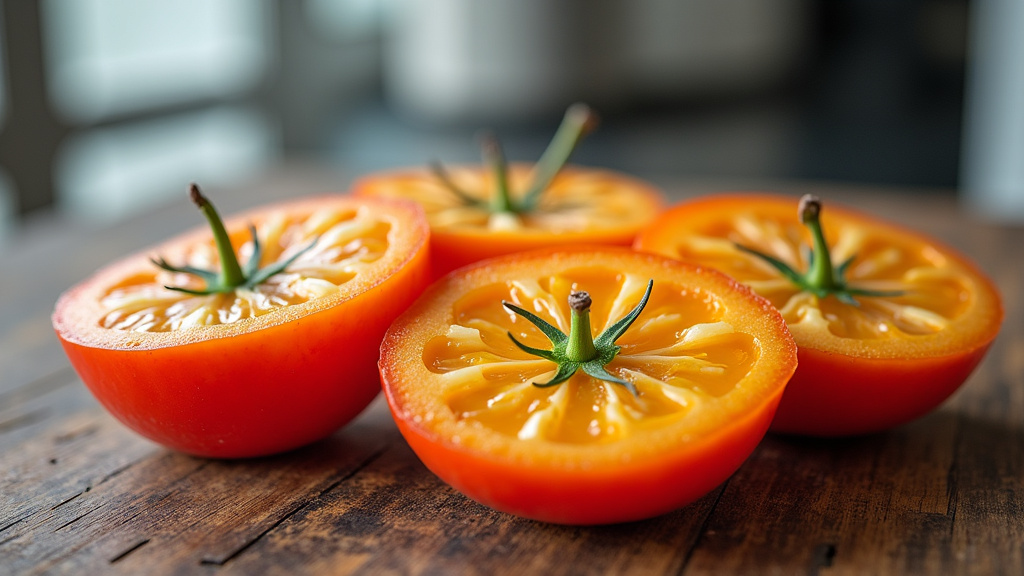
What to Look For: Signs Your Food is Properly Dried
Knowing when your food is done is crucial. You’re looking for a specific texture. It should feel leathery, pliable, and have no visible moisture when you bend or tear it. There should be no “wet” spots in the center.
For fruits, they should be chewy like raisins. For vegetables, they should be brittle and snap easily. If you’re making jerky, it should bend and crack but not break apart completely. When in doubt, let it dry a little longer. Under-dried food can develop mold, while over-dried food becomes too tough.
Storage: Keeping Your Dried Goods Fresh
Your work isn’t over once the drying is done. Proper storage protects your investment. First, let your dried food cool completely to room temperature. This prevents condensation from forming in the container.
Store your goodies in airtight containers like glass jars with tight lids, vacuum-seal bags, or plastic containers with gasket seals. Keep them in a cool, dark, and dry place. For long-term storage, many experts recommend using the freezer to maintain freshness for up to a year.
Your Air Drying Food Checklist
Ready to start? Follow these simple steps for a successful first batch.
- Choose the right food. Fruits, veggies, lean meats for jerky, and herbs work best.
- Prepare and slice uniformly. Consistent thickness is your friend.
- Select your drying method. A dehydrator, oven, or sun.
- Monitor the process. Check for even drying and rotate trays if needed.
- Test for doneness. Ensure food is leathery or brittle with no moisture.
- Cool and store properly. Use airtight containers in a cool, dark place.
Conclusion
Air drying food is a simple, reliable way to preserve your favorite fruits, veggies, and more. You now know it works by using moving air to remove moisture, making it hard for bacteria to grow. Whether you choose a dehydrator, your oven, or the sun, success comes from proper preparation and patience. The key is drying food until it’s leathery or brittle with no wet spots inside. Your next step? Grab a simple ingredient like apples or herbs, follow the checklist, and start your first batch. Enjoy the process and your homemade, shelf-stable snacks.
Frequently Asked Questions
How long does it usually take to air dry food?
The time varies based on food type, thickness, and your method. In a dehydrator, fruits may take 6-12 hours, while jerky often needs 4-8 hours. Sun drying can take several days, so check weather conditions and plan ahead.
Can I air dry any type of food at home?
Not all foods are ideal for air drying. High-fat items like nuts or avocados can go rancid, and very watery foods like cucumbers may not preserve well. Stick to recommended choices like lean meats, fruits, vegetables, and herbs for safe results.
What temperature should I set my dehydrator to?
Most foods dry well between 125°F and 135°F, but check guidelines for specifics. For example, jerky requires higher heat (160°F) for safety, while herbs often need lower temperatures. Research and found that adjusting temperature based on food type prevents over-drying or spoilage.
How do I store air-dried food to keep it fresh?
After drying, let food cool completely to avoid condensation. Use airtight containers like glass jars or vacuum-seal bags, and store them in a cool, dark place. For long-term freshness, consider freezing portions, which can last up to a year.
Is air drying safe from bacteria and mold?
Yes, when done correctly. The goal is to reduce moisture below 10%, which stops microbial growth. Always dry food thoroughly and store it properly. If you notice mold or off smells, discard the food immediately to avoid any risks.